How to Disable OST file?
Why do we Need to Disable the OST File?
Disabling an OST file can be useful when troubleshooting Outlook-related issues, such as a corrupt OST file, synchronization problems, or other errors. Disabling the OST file can also help reduce the size of the file, allowing it to be more easily transferred to another computer or stored in the cloud.
Top Reasons to Disable OST File
There are many reasons that can make OST file inaccessible and you need to recreate a new OST file. Here are some ones:
- To free up disk space: OST files can be quite large, and if you don’t need them, you can free up some disk space by disabling them.
- To reduce the risk of data corruption: OST files can become corrupted, which could lead to data loss. Disabling them can help to reduce the risk of data corruption.
- To improve computer performance: OST files can be resource-intensive and can cause your computer to run slower. Disabling them can help to improve computer performance.
- To improve security: OST files can contain sensitive information, and disabling them can help to improve security.
- To reduce clutter: OST files can create unnecessary clutter on your hard drive, and disabling them can help to reduce the clutter.
How You Can Disable OST File
OST files are Outlook data files used to store copies of emails, contacts, and other data from an email account. Disabling an OST file can help prevent file corruption and improve Outlook performance.
Steps to Disable OST File
- Open Outlook and select “File” from the menu bar.
- Select “Account Settings” and choose the “Account Settings” option.
- Select the account you wish to disable and click “Change”.
- Uncheck the “Use Cached Exchange Mode” box.
- Click “Next” and then “Finish”.
- Restart Outlook and the OST file will be disabled.
- To permanently delete the OST file, go to the “C:\Users\[User Name]\AppData\Local\Microsoft\Outlook” folder and delete the OST file associated with the account.
Additional Tips
- If you are disabling OST files for several accounts, you can disable them all at once by selecting “More Settings” and unchecking “Use Cached Exchange Mode” for all accounts in the “Advanced” tab.
- If you are disabling OST files for several users, it may be easier to use a script to disable the files.
- If you are disabling OST files for a large number of users, it may be more efficient to use a Group Policy to disable the files.
- If you are disabling OST files to reduce the size of your Outlook data file, it may be more effective to compact the file instead.
What if Instead of Disabling the OST File you have Accidentally Deleted Them?
If you have accidentally deleted OST files, you can recover them using data recovery software. Data recovery software can scan the hard drive and recover files that have been deleted, even if they were emptied from the Recycle Bin.
How to Convert OST to PST with a Third-party Tool and Save Outlook Data
To convert an OST file to PST with MailsGen OST Converter and save Outlook data, you can use a professional OST to PST Converter software. This tool can quickly convert OST files to PST format while preserving all the metadata and folder structure of the original file. The software also offers multiple features such as repairing corrupted OST files and saving them as PST files, etc.
Here are the steps to convert OST to PST using a MailsGen OST Converter:
- Step 1: Download and install the OST to PST Converter on your system.

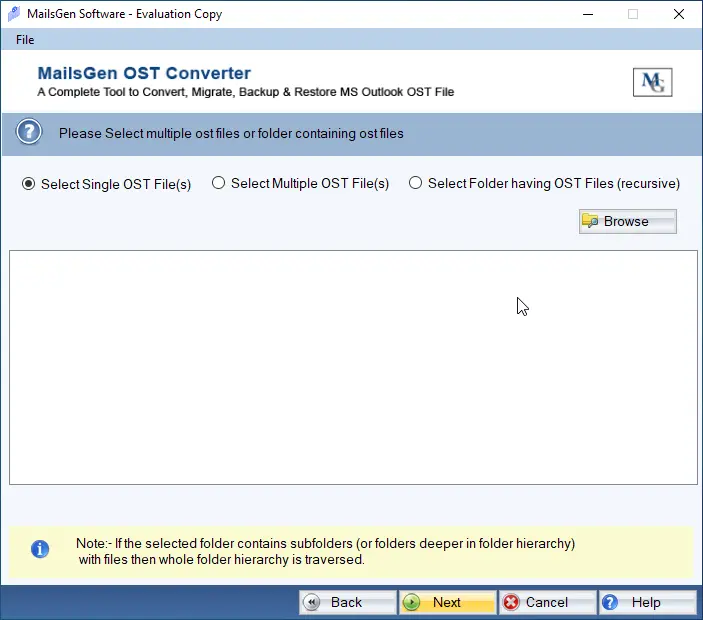
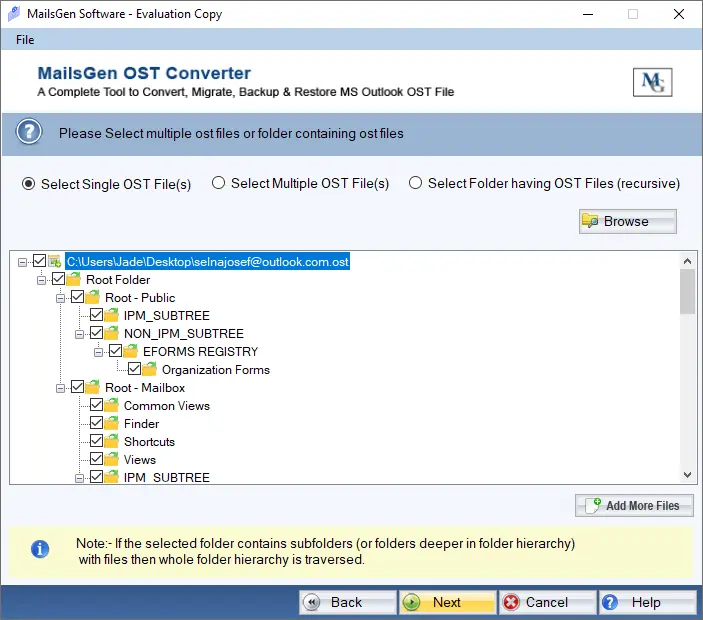
- Step 2: Select the OST file(s) you want to convert and click on "Open".

- Step 3: Preview the data in the software interface.

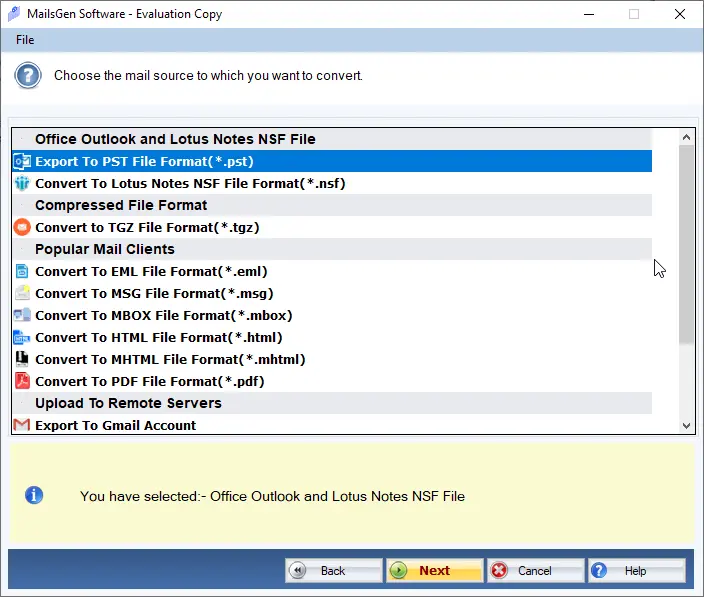
- Step 4: Select the desired output format (PST) and the destination path to save the file.

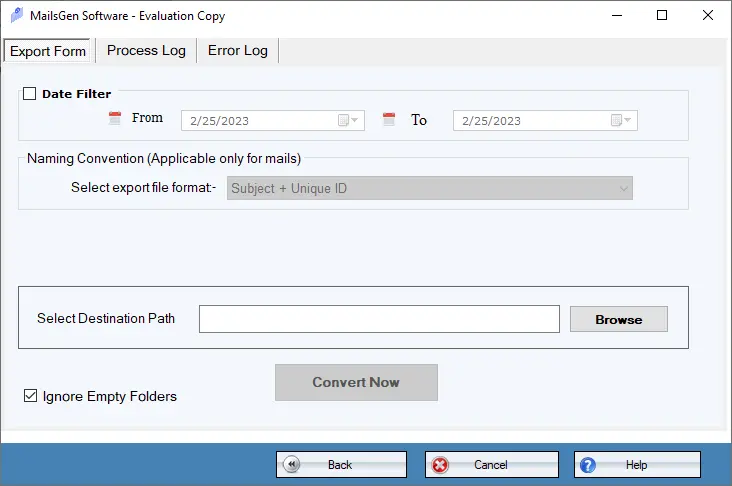
- Step 5: Click on "Convert" to start the conversion process.
Once the conversion process is complete, the converted PST file will be saved to the specified location. You can then directly import the PST file into Outlook to access the data.
